How to make a clergy robe?
Before delving into the intricacies of making a Clergy Robe, it’s essential to understand its significance. Clergy robes for Men serve as more than just garments; they symbolize the authority, dignity, and solemnity of religious leaders. By wearing a well-crafted robe, clergy members convey respect for their faith and the responsibilities they hold within their communities.
Gathering Materials and Tools
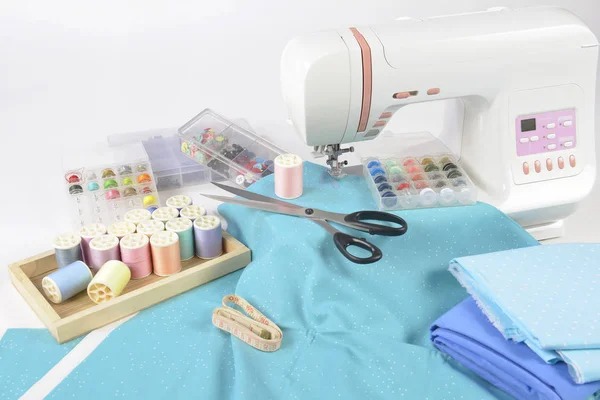
The first step in crafting a clergy robe is gathering the necessary materials and tools. You’ll need:
- Fabric: Choose a high-quality fabric such as cotton, polyester, or wool, depending on your preferences and budget.
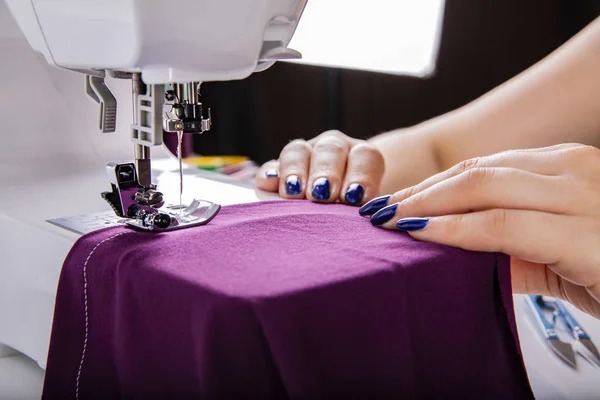
- Sewing Machine: A reliable sewing machine equipped with appropriate needles and threads is essential for efficient and precise stitching.
- Measuring Tape: Accurate measurements are crucial for ensuring a proper fit, so invest in a quality measuring tape.
- Scissors: Sharp scissors will facilitate clean and precise cutting of the fabric.
- Pins and Needles: These tools are essential for holding fabric pieces together and sewing them into place.
- Iron and Ironing Board: Pressing the fabric before and after sewing ensures smooth seams and a professional finish.
Taking Measurements
Next, carefully measure the individual who will be wearing the clergy robe. Pay close attention to key measurements such as chest, waist, hips, sleeve length, and robe length. These measurements will serve as the basis for drafting the robe pattern and ensuring a customized fit.
Drafting the Pattern
Using the measurements obtained, draft a pattern for the Clergy Robes for Women on pattern paper or muslin fabric. Start with a basic robe silhouette and make adjustments to accommodate the wearer’s specific measurements. Once you’re satisfied with the pattern, transfer it onto the chosen fabric, ensuring accuracy and precision.
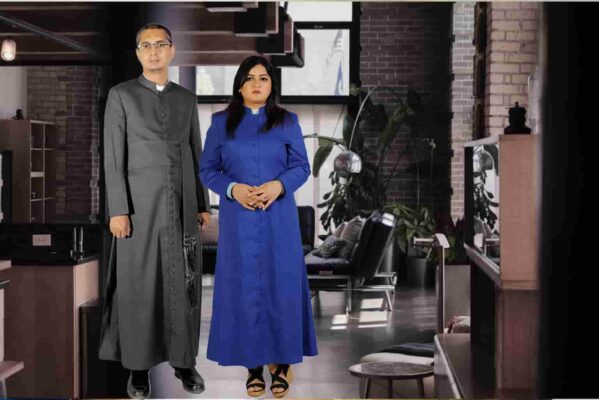
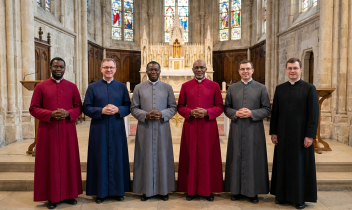
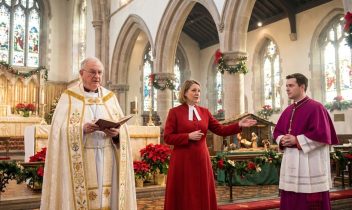
Cassock for Mens & Womens
Cutting and Assembling the Fabric
With the pattern transferred onto the fabric, carefully cut out the individual pieces using sharp scissors. Take care to follow the pattern markings and guidelines to ensure proper alignment and symmetry. Once all pieces are cut, begin assembling the robe by sewing the seams together, starting with the shoulders and progressing to the sleeves and body.
Adding Details and Embellishments
To enhance the appearance of the clergy robe, consider adding details and embellishments such as decorative trims, embroidery, or religious symbols. These elements can further personalize the robe and imbue it with symbolic meaning relevant to the wearer’s faith tradition.
Final Fittings and Adjustments
Once the clergy robe is assembled, conduct a final fitting to ensure proper fit and comfort. Make any necessary adjustments to the seams, hemline, or sleeve length to achieve the desired look and fit. Take the time to press the robe with an iron for a polished finish before presenting it to the wearer.
Crafting a clergy robe is a labor of love that requires skill, patience, and attention to detail. By following this step-by-step guide, you can create a bespoke robe that reflects the dignity and reverence of its wearer, ensuring that they are appropriately attired for their sacred duties within their religious community.





Add comment
You must be logged in to post a comment.