
How to Tie a Cincture: A Step-by-Step Guide for Beginners
If you’ve ever wondered how to tie a cincture, you’ve come to the right place. Whether you’re a martial artist, a fashion enthusiast, or someone who simply loves accessorizing, learning how to tie a cincture can add a touch of elegance and style to your attire. In this comprehensive guide, we will walk you through the step-by-step process of tying a cincture, providing clear instructions along with helpful tips and tricks. So, let’s get started and master the art of tying a cincture!
Understanding the Basics
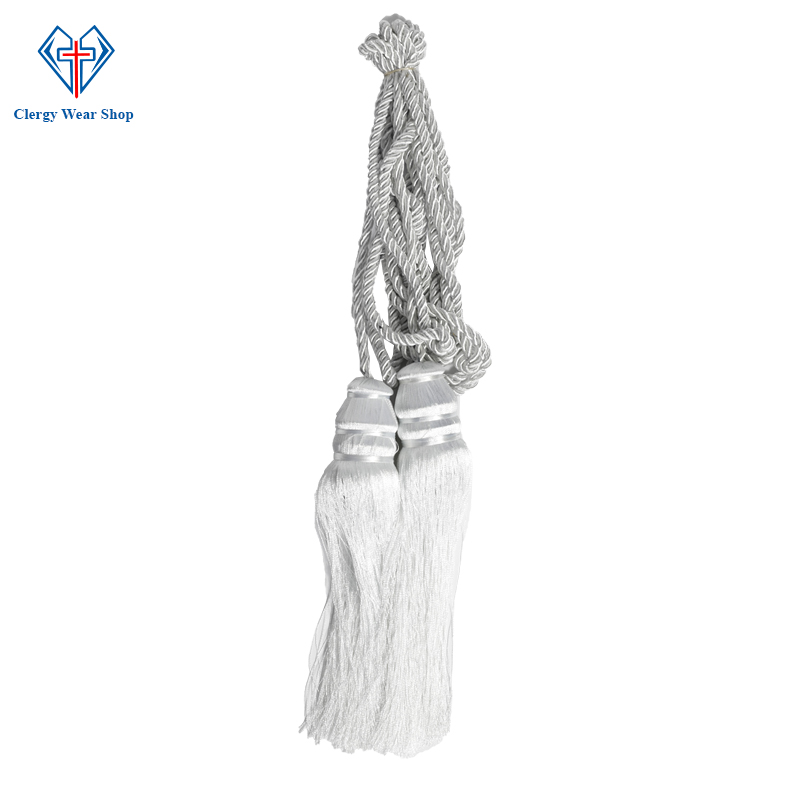
Before we delve into the tying techniques, it’s important to familiarize yourself with the basics of a cincture. A cincture is a cord or sash that is typically used to secure a robe or garment around the waist. It can be made from various materials such as silk, satin, or cotton, and it comes in different lengths and colors, depending on its purpose and cultural significance.
Choosing the Right Cincture
When selecting a cincture, consider the occasion and the desired aesthetic. For formal events, a sleek and elegant cincture in a solid color would be appropriate. On the other hand, if you want to add a pop of color or texture to your outfit, you can opt for a patterned or textured cincture. Remember, the right cincture can enhance your overall look, so choose wisely.
Preparing the Cincture
Start by holding one end of the cincture in each hand, ensuring that the length is even on both sides. If the cincture has a fringe or tassel, make sure they are aligned as well. This step ensures that the cincture will be centered and balanced when tied around your waist.
Wrapping the Cincture Around Your Waist
Begin by placing the center of the cincture at the front of your waistline, just below your navel. Cross the ends of the cincture behind your back, bringing them forward to the front again. Make sure the cincture is snug but not too tight.
Creating a Cross at the Front
Take the right end of the cincture and cross it over the left end at the front of your waist. Pull both ends taut to create a secure and visually appealing cross shape. Adjust the tightness as needed.
Tucking the Ends
With the cross formed, tuck the right end of the cincture under both layers of the cross, bringing it from the inside to the outside. Repeat this step with the left end of the cincture, ensuring that both ends are securely tucked.
Creating a Bow or Knot
Now, take the right end of the cincture and loop it over the left end, just as you would when tying your shoelaces. Pull the right end through the resulting loop to form a simple knot or bow. Adjust the bow or knot to achieve the desired look and symmetry.
Final Adjustments
Once you have tied the cincture, take a moment to check its positioning and appearance. Make any necessary adjustments to ensure that the cincture is centered, straight, and aesthetically pleasing. Smooth out any wrinkles or twists for a polished final look.
Experimenting with Styles
Now that you’ve mastered the basic technique of tying a cincture, it’s time to get creative and explore different styles. Depending on the length and material of the cincture, you can experiment with various knots, bows, and draping techniques to achieve different looks. For example, you can try tying a double knot for added security, or create a decorative bow by looping the ends multiple times. Don’t be afraid to play around and find a style that suits your personal taste and the occasion.
Caring for Your Cincture
To ensure that your cincture remains in excellent condition, it’s essential to properly care for it. Follow the care instructions provided by the manufacturer, as different materials may require specific care methods. In general, avoid exposing the cincture to excessive moisture or heat, as this can cause damage or deformation. If necessary, gently spot clean any stains using a mild detergent and let it air dry. Proper storage is also important; consider hanging the cincture or rolling it up neatly to prevent creasing or tangling.
Tying a cincture may seem daunting at first, but with practice and patience, you can become adept at creating beautiful and stylish waist accents. Remember to choose the right cincture for the occasion, follow the step-by-step instructions, and feel free to experiment with different styles. By mastering the art of tying a cincture, you can elevate your outfit and add a touch of sophistication to your overall look. So, go ahead and embrace this timeless accessory, and enjoy the elegance it brings to your wardrobe.
Incorporating a cincture into your attire not only adds a touch of style but also showcases your attention to detail and appreciation for tradition. With the knowledge gained from this guide, you can confidently tie a cincture, impressing others with your expertise. So, whether you’re preparing for a formal event, a martial arts practice, or simply looking to elevate your everyday outfits, let the cincture be your fashionable companion.
Remember, practice makes perfect! Don’t hesitate to spend some time perfecting your cincture tying skills, and soon enough, you’ll be able to tie a cincture effortlessly and with precision. Enjoy the process, embrace your individual style, and let your cincture become a symbol of your personal flair.
So, go ahead, select a beautiful cincture, and start mastering the art of tying it. With a little practice, you’ll be able to tie a cincture with confidence, adding an elegant touch to your attire and setting yourself apart from the crowd. see more…


Add comment
You must be logged in to post a comment.